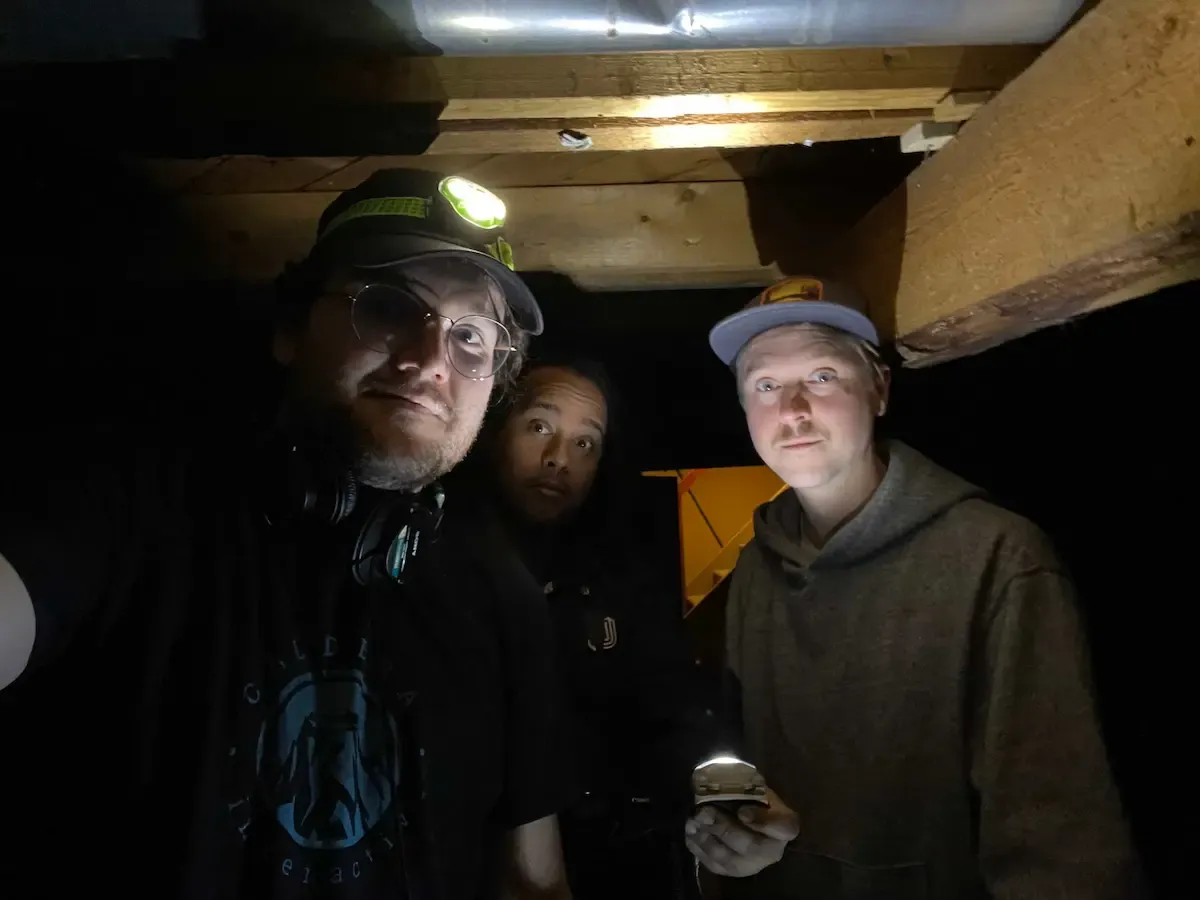
How We Recorded the Best Horror Sounds For Our Game! 😱
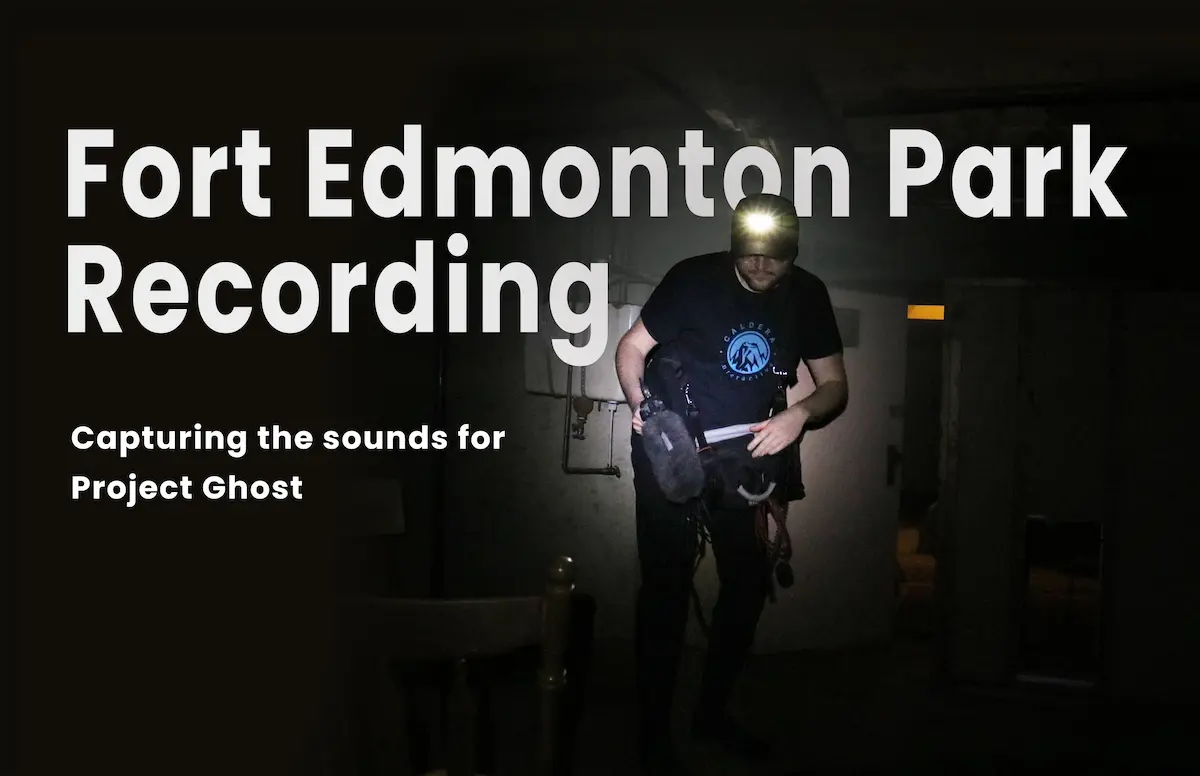
In this post, we will explain our process for recording a library of sounds for our game Project Ghost.
Start Here
Here’s an example of the sounds we recorded used in the context of the game:
Finding the Right Locations
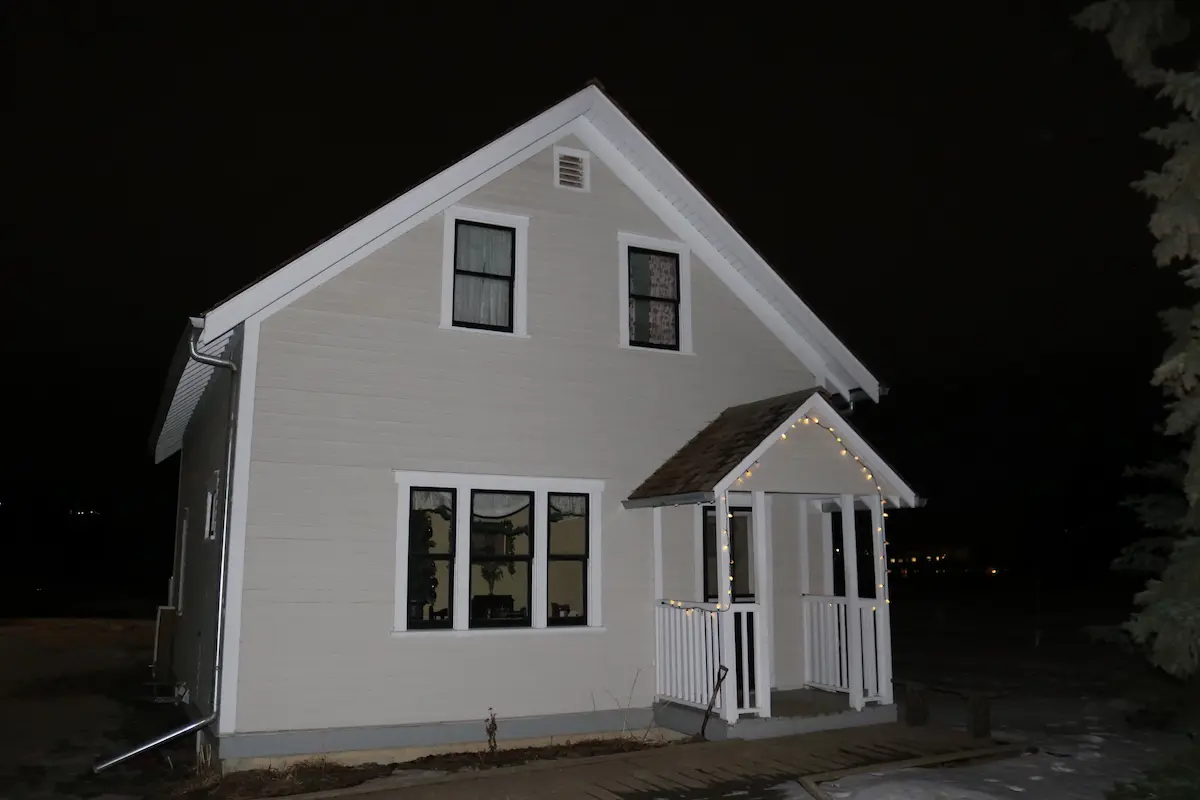
For Project Ghost, we want to immerse players in a truly scary soundscape. The game is set in an old abandoned mansion. Therefore, we had to find locations to record creaky doors, squeaky doorknobs, metal screeches, and the overall ambience of possibly haunted houses. Turns out, the best place to record these sounds is Fort Edmonton Park.
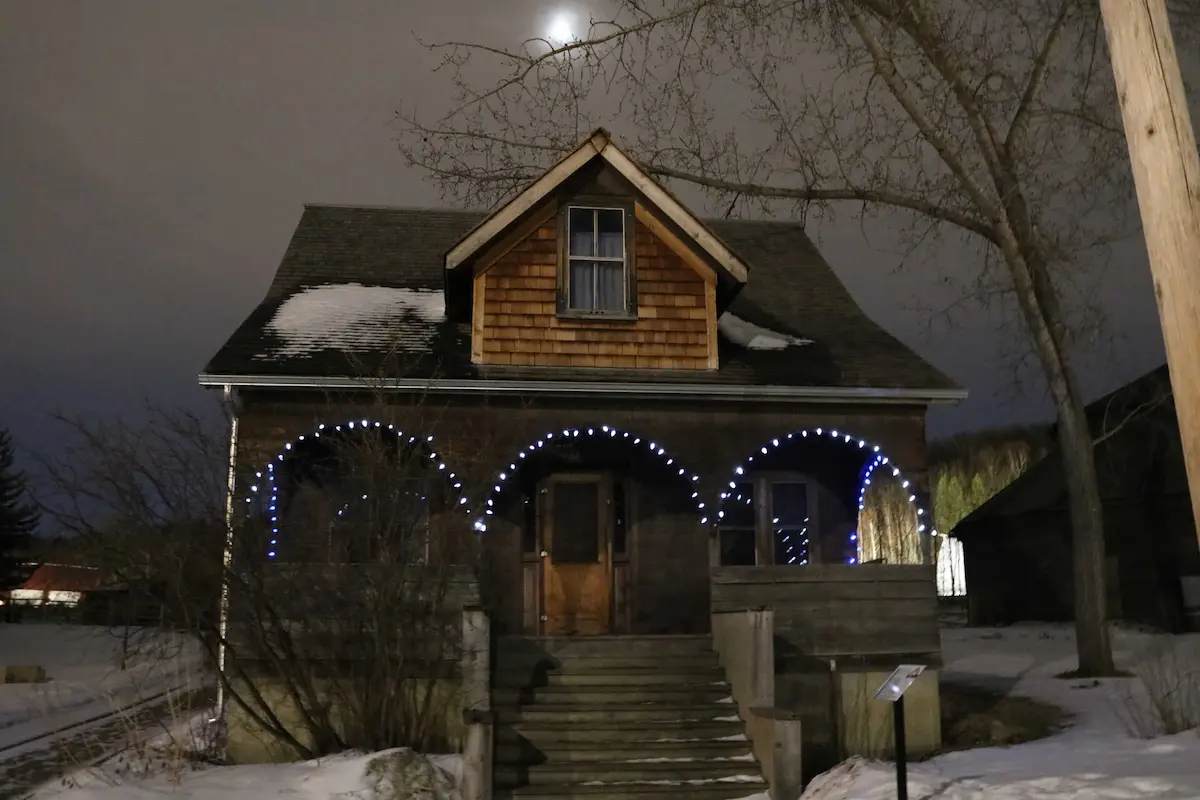
Among other attractions, Fort Edmonton Park curates historical buildings. We were lucky enough to get after-hour access to three buildings to record them and record inside them.
If you want to read more about the park, we encourage you to visit their website here.
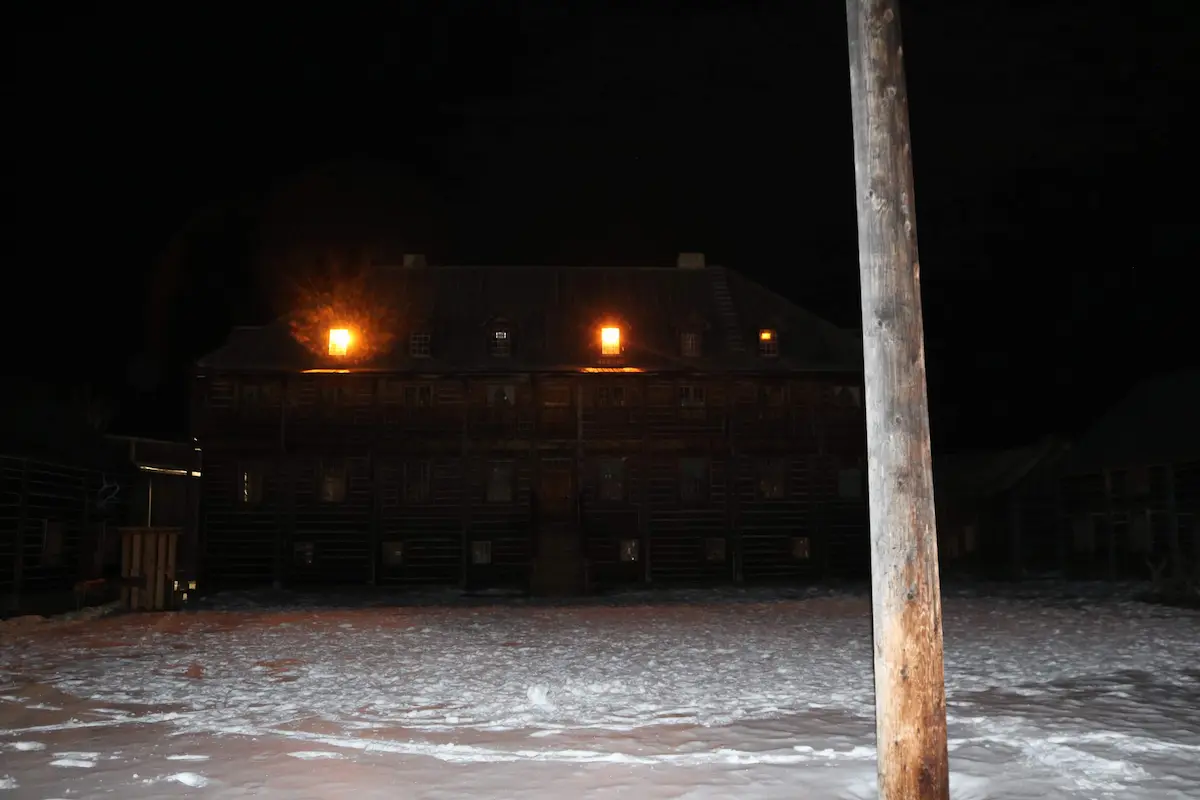
Special thanks to Jason Kay at the Edmonton Screen Industries Office (ESIO) for pointing us in the right direction for our project. The ESIO is a great resource for content creators looking for locations to record. And also, thank you to Katherine Florence and Rachael Ross from the Fort Edmonton Management Company for giving us access to these incredible locations.
Capturing the Right Sounds
By themselves, buildings don’t make sound. To get the sounds we need, we must “activate” them somehow. That means interacting with the buildings so that they generate sound. That means walking around, finding the floorboard that creaks or the door hinge that squeaks, etc.
For example, we interacted with doors to record bangs and rattles. You can see our audio director Isael Huard manipulating a set of doors in the video below.
In the next video, we see foley artist Chris Szott, interacting with a rattly door knob. Sound designers love everything that makes noise!
You may notice in this video that we are recording from much further than in the previous video. That is because we want to record the reverberation of the space as well. The doorknob is the stimulus that activates the sound of the space. By recording from further away, we capture the atmosphere of the space and the stimuli together.
In the next video, Chris uses the chair as a stimulus to activate the space, and Isael is recording from the staircase. The result is more ambient and, therefore, ideal for creating ambiences for the game.
But what if you want to use a space’s reverberation without the original stimulus? This is possible to do artificially by using a convolution reverb plugin in post-production. This tool requires an impulse response (IR) to work. Simply put, you need to record a burst of sound that covers the frequency spectrum in the space you wish to capture. We used balloons to achieve this.
Now, we can use this pop sound or impulse response (IR) to place any other sounds that we have at our disposal in this space artificially in post-production. This is a powerful tool to create cohesion between different sounds when making ambiences, for example.
There are also special tools that can help capture noise our ears cannot hear, like an electromagnetic pickup microphone. These special microphones convert electromagnetic waves to audible noise that can be recorded.
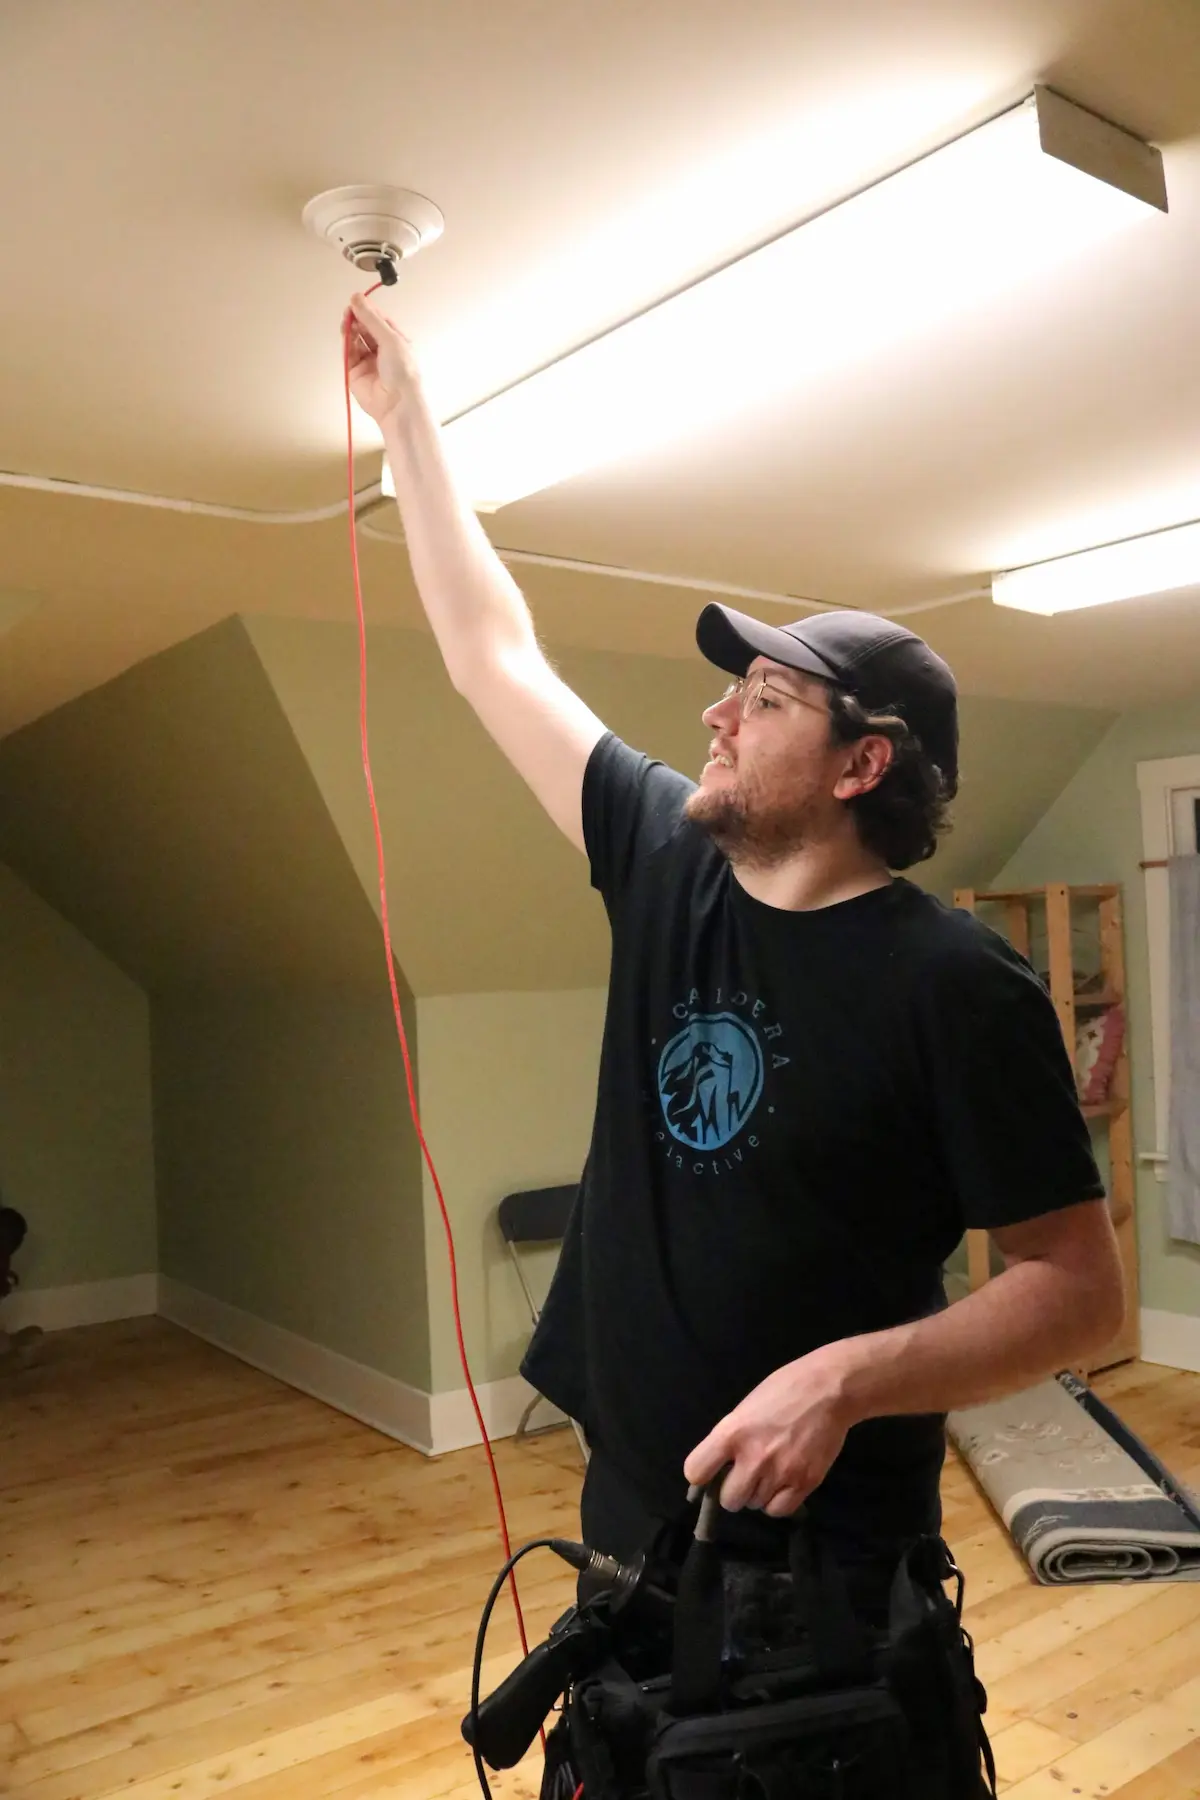
In this picture, Isael is recording electromagnetic waves emanating from the fire alarms in one of the buildings. This is the resulting sound.
Conclusion
Field recording is an experimental process. Don’t be scared to touch and move things to find unique sounds. Of course, always use your best judgment and respect the space you are in.
We also recommend that you scout the locations you wish to record beforehand so that you can plan and set expectations of the sounds that you will be able to capture. But most of all, don’t forget to have fun!
Special thanks to Chris Szott for helping us record amazing sounds and for being generous with his time and expertise. Check out what he is up to at Little Hook Sound.
And also, thanks to Mickael Zerihoun for documenting the process so that we can share this story with you!
